Looks like the passenger side apron was in a crash and they just filled it with bondo an inch thick. So I ground it out and spent the afternoon with hammer and dolly and now no bondo! Drivers side next!


Looks like the passenger side apron was in a crash and they just filled it with bondo an inch thick. So I ground it out and spent the afternoon with hammer and dolly and now no bondo! Drivers side next!
Left side done, right side fit and tacked. I ran out of argon so I called it a day.

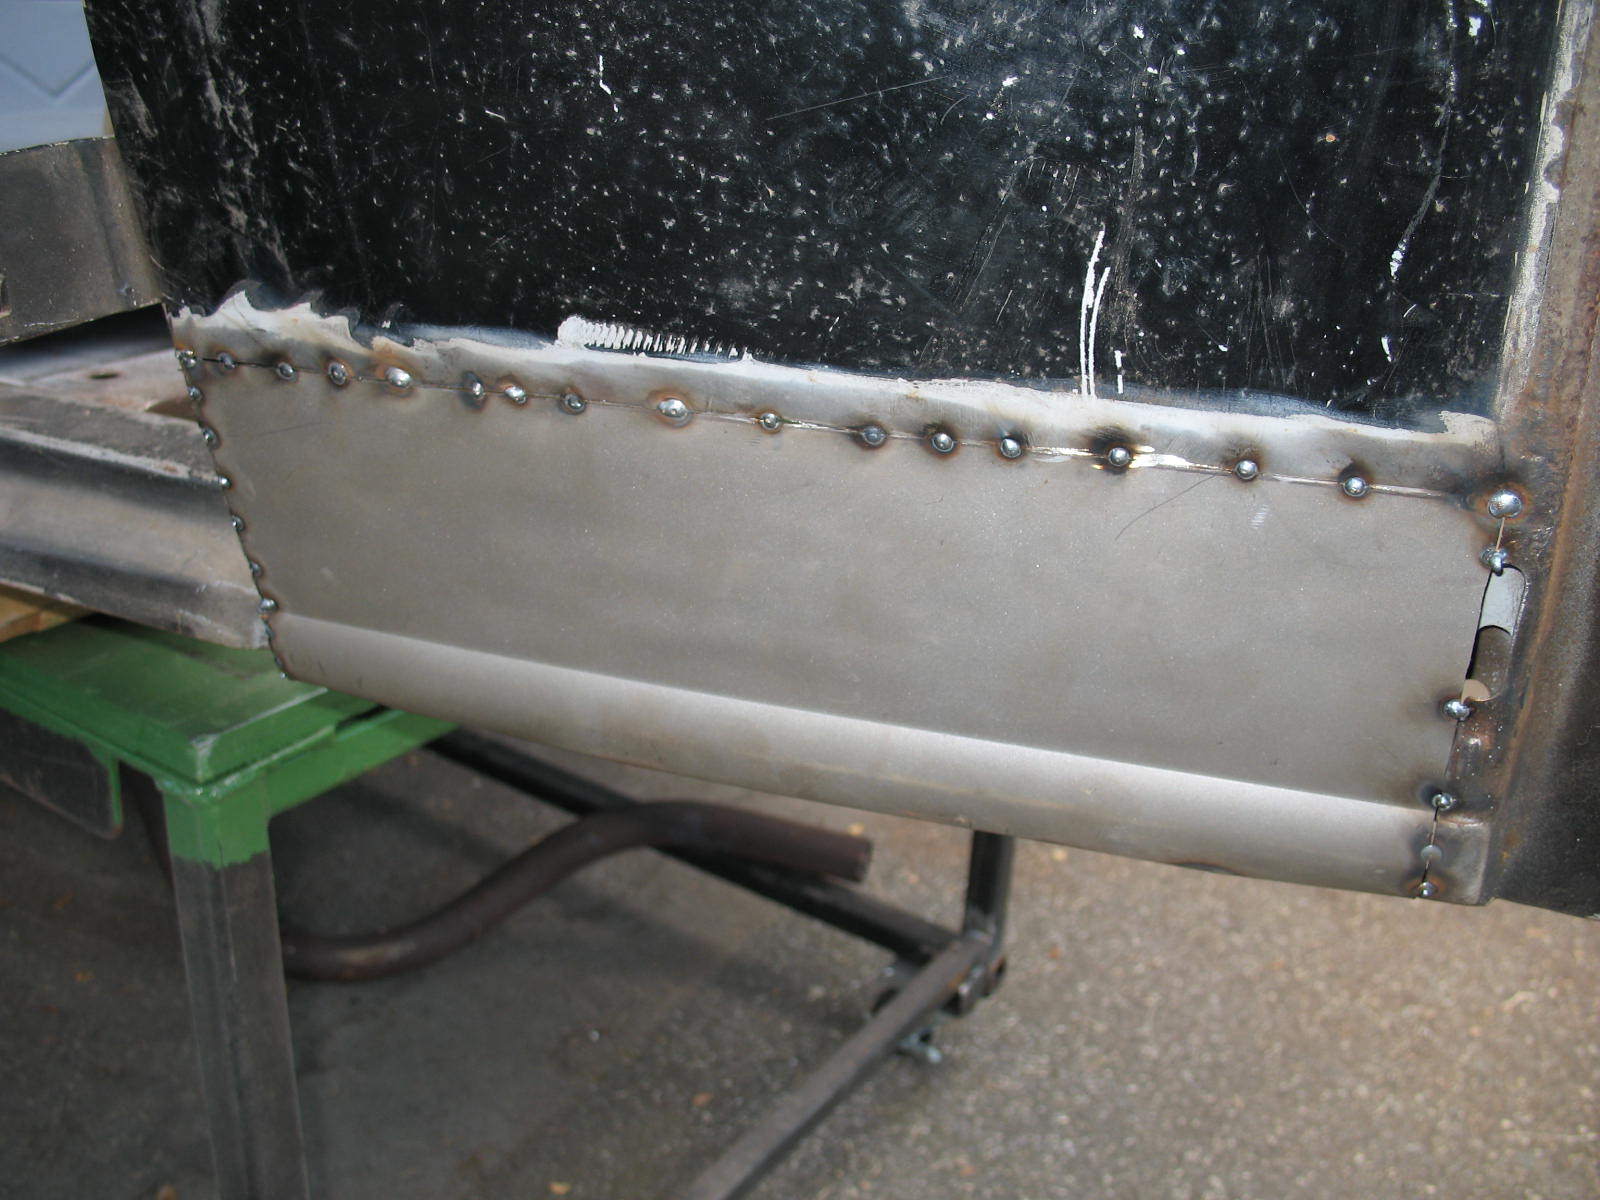
I was hoping I was done with rot, but I sort of expected the bottom of the cowl to be bad. Sanded the paint off and sure enough, bondo again. First pic is the right side, second is the left side cut out, third is the inner brace cleaned and primed, and last is the new panel being fitted for welding in place.


After removing all the tar undercoating from the rumble lid I could now weld up all the cracks around the hinges and in the center. Someone had converted this to a trunk lid at some time past and in order to put in a latch they cut out the inner panel in the bottom center. This let the deck lid flex so it cracked right down the center. Today I reproduced the piece they cut out and welded it in and then welded up all the cracks. A little finishing touches and the rumble lid will be ready for primer. First pic is the missing piece, next is the replacement, then a welded crack by the hinge.


After finally getting the rear quarter panels spread apart to fit the rumble lid, I decided to strip the lid and see what kind of shape it was in. Somewhere in time someone decided that some tar undercoating would be a great thing to spray on the inside of the lid. I tried paint remover, acetone and Lacquer thinner but it only cut the top layer. So I decided to scrape it off by hand. Two days later it was all off. There is a quite a bit of welding required to fix the lid so I had to remove the tar or watch it burn up during welding. Where the tar was thick it came off easily but the thin stuff took work. As you can see it looks like this car was a trunk lid car before it was a rumble seater so someone welded up the trunk latch holes. I took off the hinge brackets and cleaned up around them as metal fatigue has caused some cracks that need welding. Overall this lid needs less work than all the other body parts so I'm happy with the results. Last pic is the outside with all the bondo and primer removed, ready for some welding.


So, We get the frame and cowl out of the woods and Mike and Harry and I go back to Mr. Ward's because he has the original stones that were used to crush the gold ore from the Bechtler mining operation.


Behind Mike is the Dam and race that fed the water wheel that spun the stones used to crush the raw ore to extract the gold. After all, we were in Golden Valley, NC. There were two large stones embedded in the bedrock of the creek across from where we got the frame. On top of them were two smaller stones spinning and crushing the ore to be mixed with mercury "quicksilver" as Mr. Ward put it. Them Bechtlers didn't know much about quicksilver as it killed them both early!
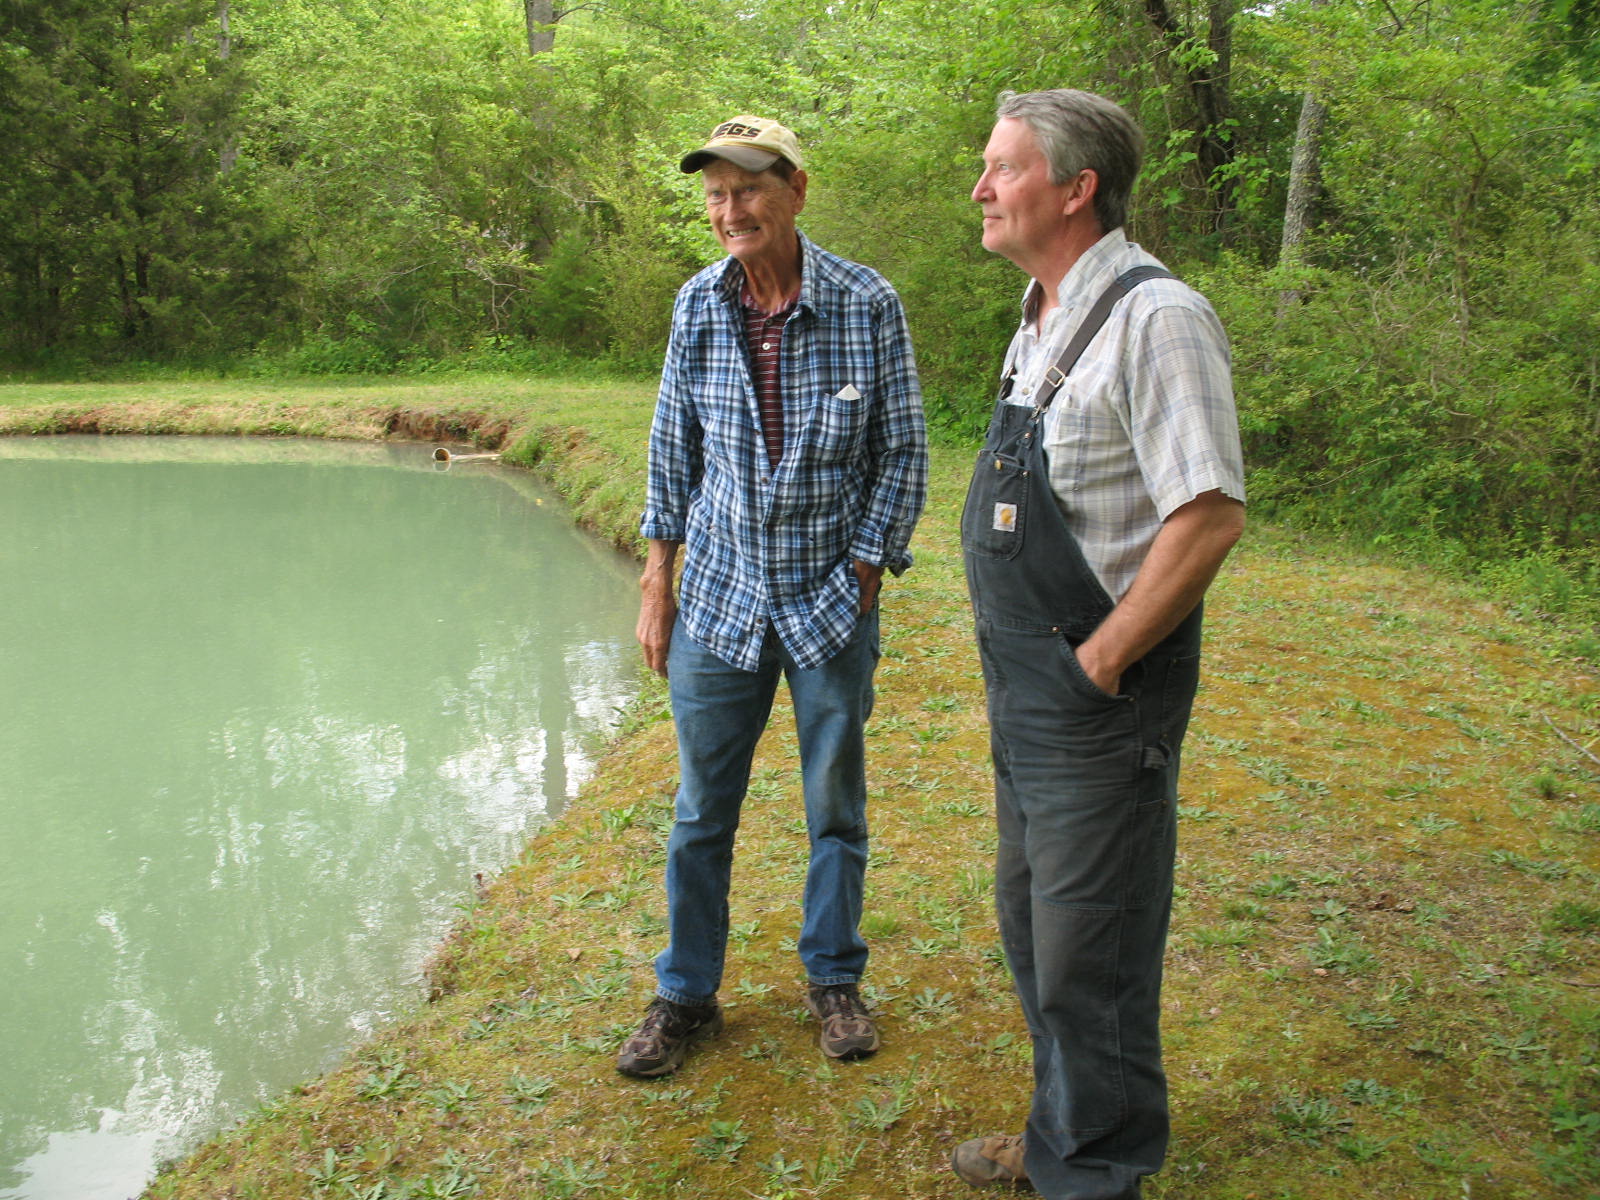

Google Augustus and Christopher Bechtler or stop by the Bechtler Mint Muesum and home in Rutherfordton NC. So, you get a car adventure and a history lesson all in one day! Thanks everyone involved for a great adventure, hope the poison ivy rash doesn't show up!
After separating the two main parts we set about more clearing of a path through the woods to carry them out. Mostly small trees, vines and POISON IVY. Me and Harry took the big end and Mike took the front frame horns and off through the woods we went. Twice we had to stop and turn the frame sideways to get it between trees but we cleared the woods, the hillside, the swamp and got it to the truck. Now go back for the cowl and tools. Can you ID this beautiful green plant?


